Here’s the recipe:
Preheat Oven: 350 degrees Farenheit
Dry Ingredients: Mix in a medium size bowl
- 3/4 cup Almond Flour
- 1 tbsp Coconut Flour
- 1/3 cup Arrowroot Starch
- 1/4 tsp Salt
- 1/2 tsp Baking Soda
Wet Ingredients: Mix in a smaller bowl:
- 1/4 cup Maple Syrup
- 1/3 cup Melted Coconut Oil
- 1 tsp Vanilla
- 1 tsp Almond Extract
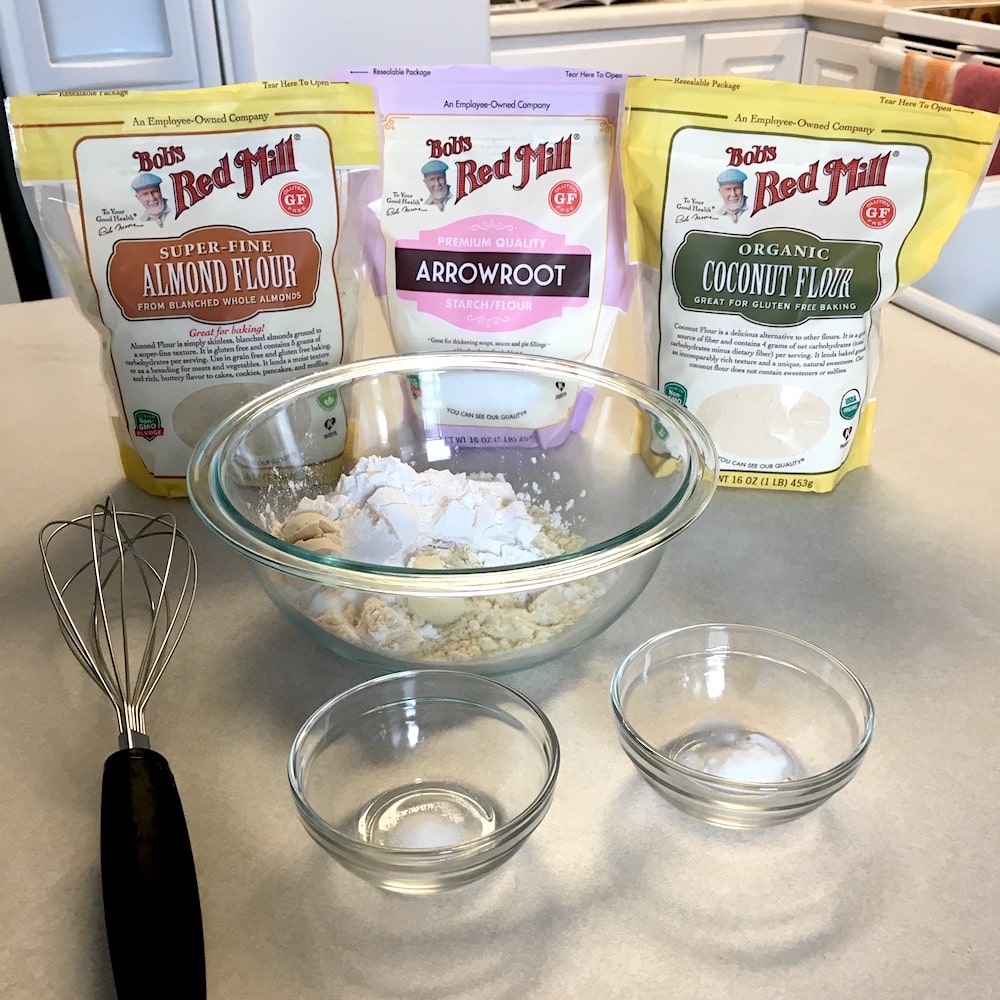
As you can see in the photo below that I used “Bob’s Red Mill” products. I like them because they’re not only high-quality with a huge selection, but they’re also easy to find in most grocery stores. The Vanilla, Coconut Oil, and Maple Syrup are all organic.
 .
. 
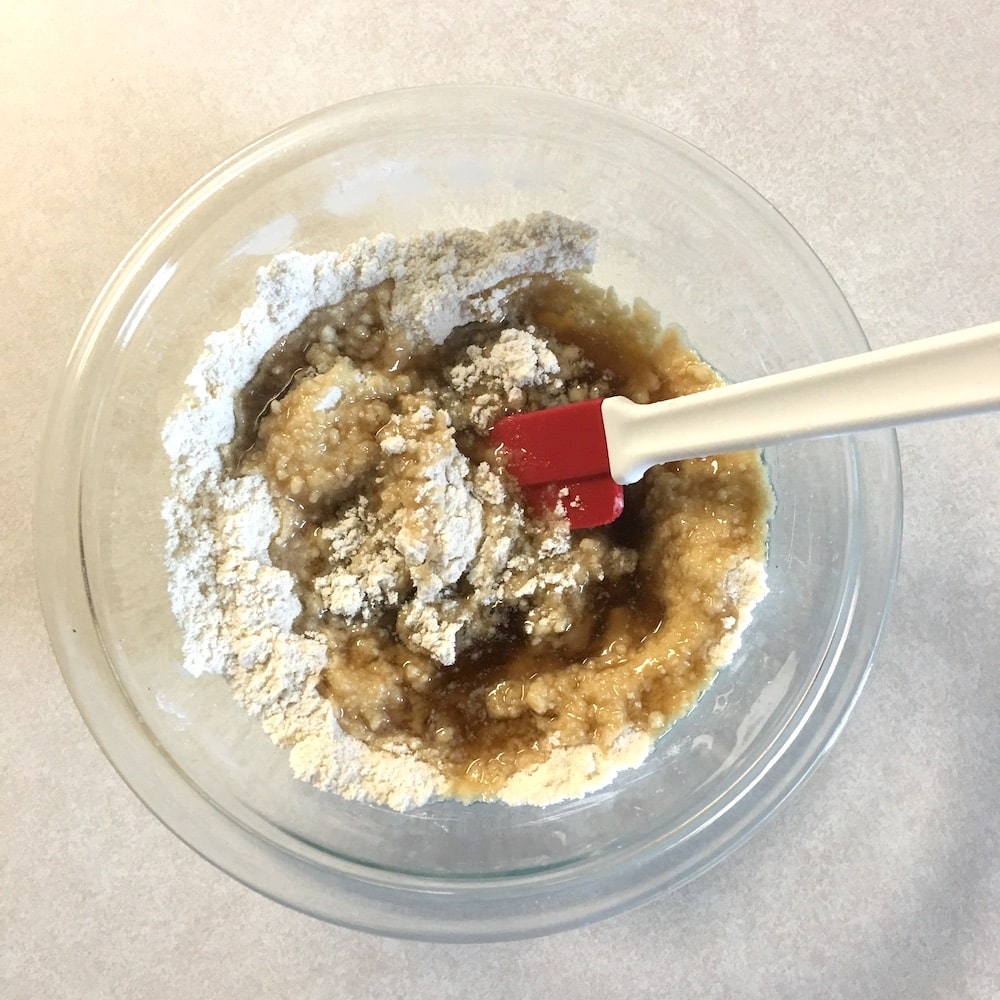
Mix “wet ingredients” into the “dry ingredients” in the medium bowl until it is of uniform consistency and can be rolled into a big ball.
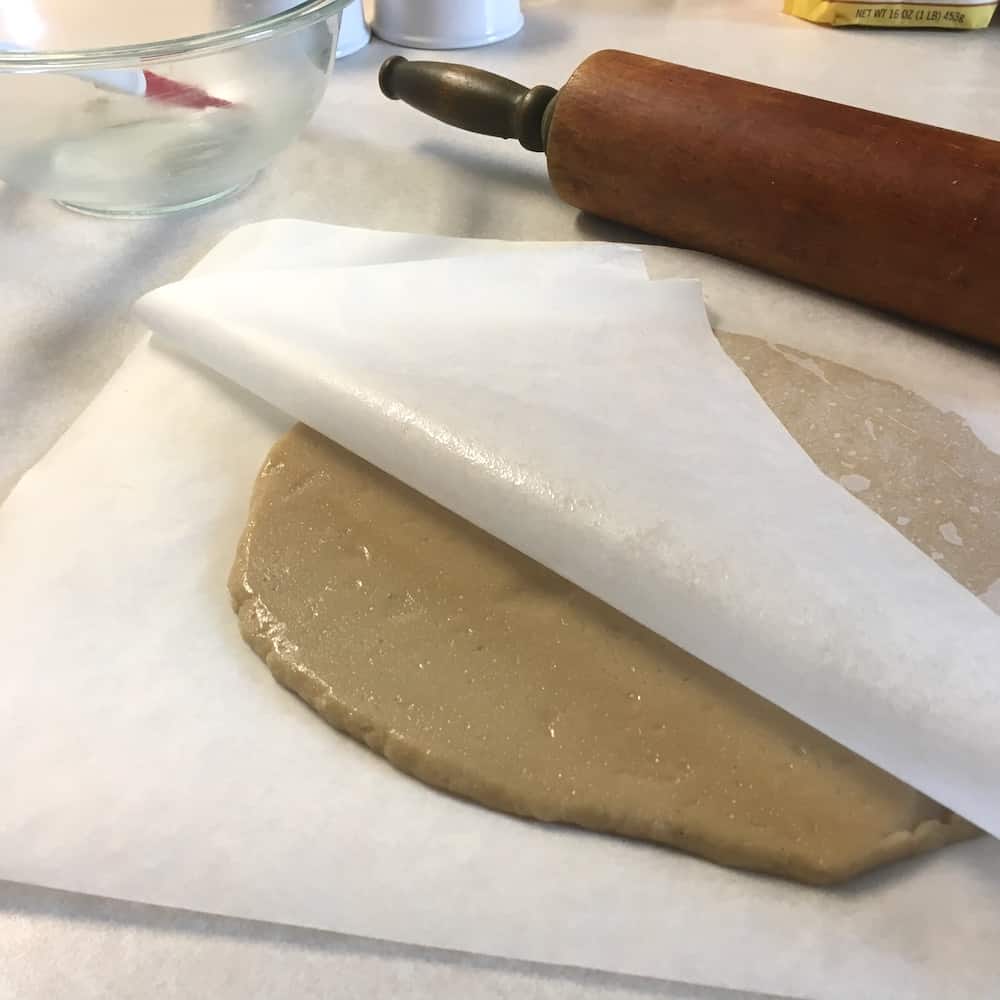
Roll the ball of dough to 1/4 inch thickness.
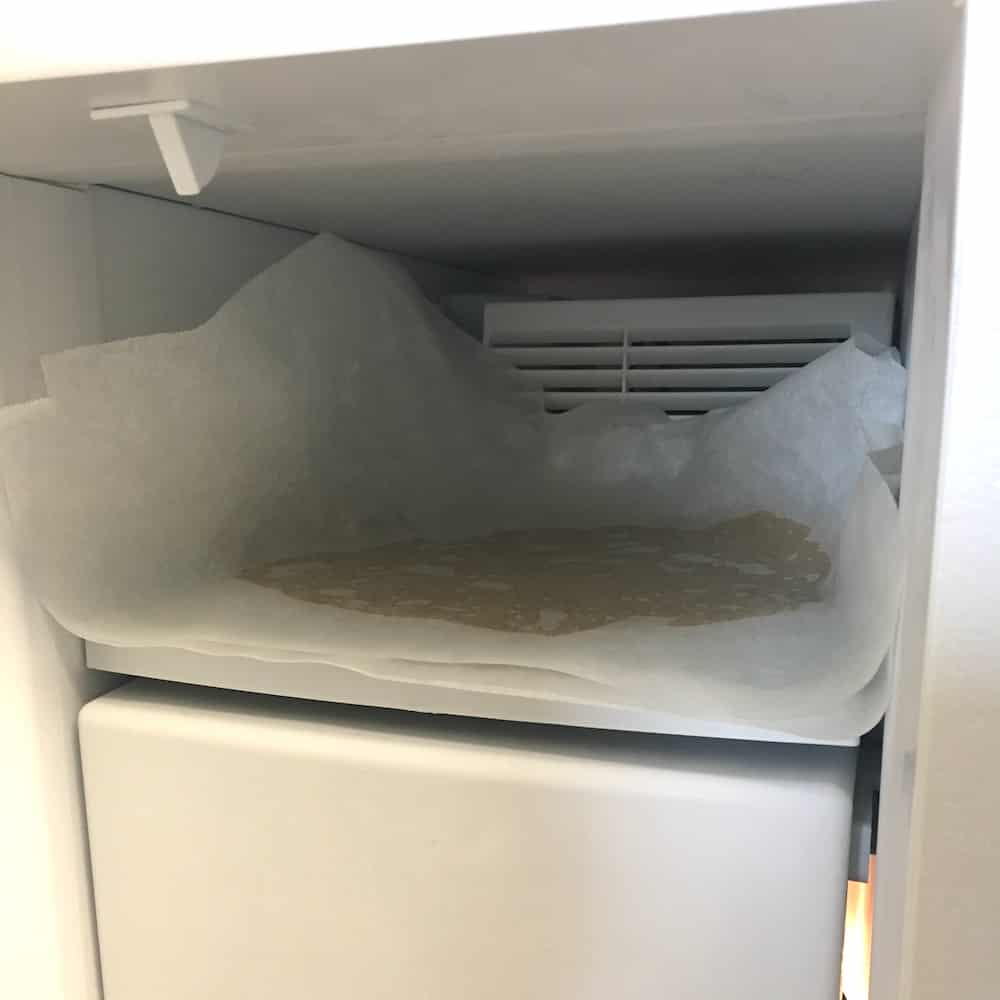
Then, freeze for 30 minutes. This will make it easier to cut out the shapes.
 .
. 
I also experimented with some toppings:
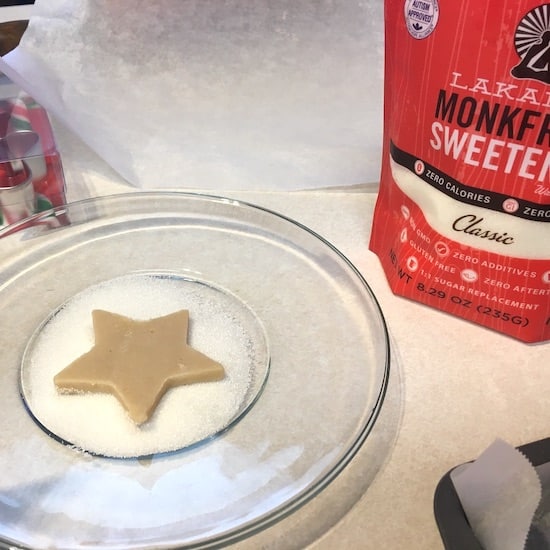
Monk Fruit Sweetener – I wanted to use something granular on the top that would help the cookie look and taste more like a traditional sugar cookie. As it turns out, Monk Fruit Sweetener is much lighter and finer than sugar and immediately melted into the cookie in the heat of the oven. I thought it would at least have a slight glaze or something on top but nooo, it just sucked it right in. I do not recommend Monk Fruit Sweetener for this application. It didn’t add anything to the cookies… save it for your tea.
 .
. 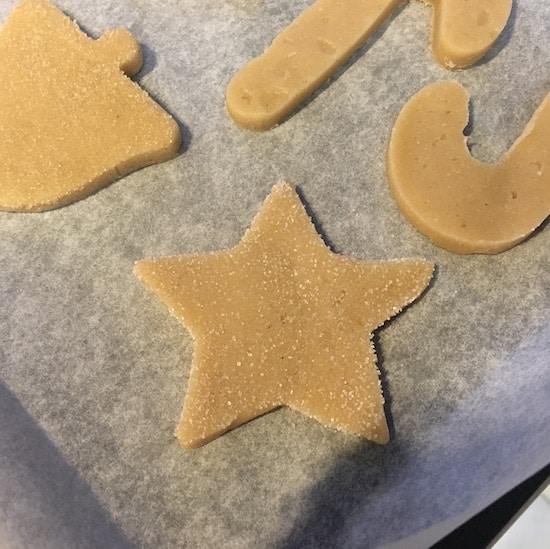
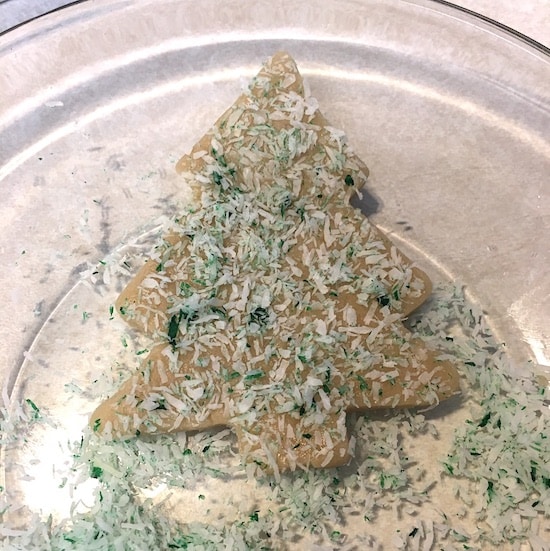
Shredded Coconut (unsweetened). This was a nice addition for both the stars and the trees
For the stars, I gently mashed the cookie into some white coconut on a saucer (like in the Monk fruit picture above) and then transferred it to the baking sheet.
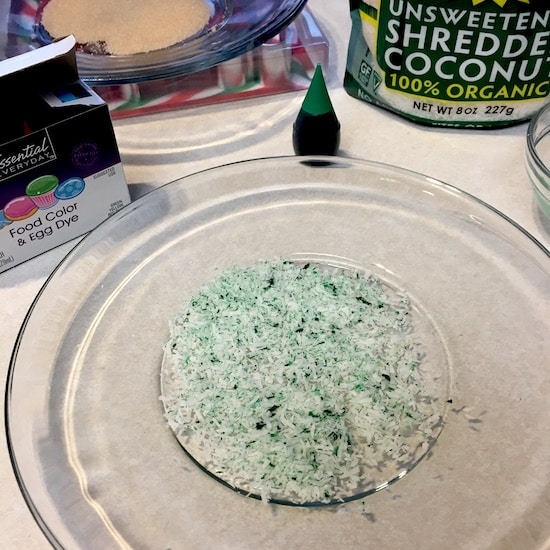
For the trees, I added 1 drop of green food dye into some of the coconut. However, I wasn’t too thrilled with the coconut that I used, it was pretty dry. Next time I’ll try freshly shredded coconut mixing it into the dough itself as well as using it on top. I’m hoping the moisture from the fresh coconut will also help to keep the cookie soft longer.
 .
. 
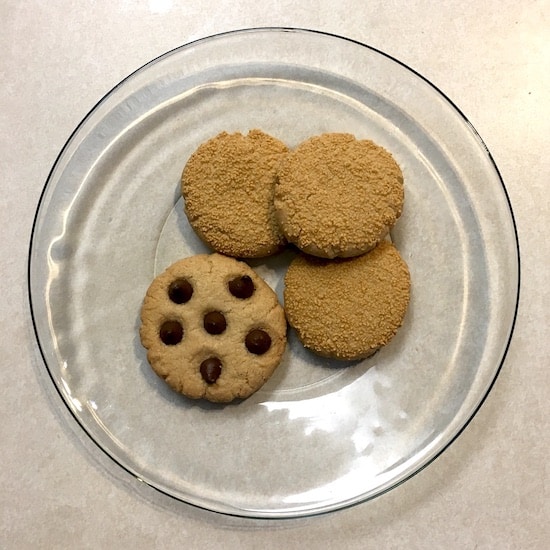
These next two examples I made with the dough scraps left over from the cut-outs.
Roll up 1-inch diameter balls for a quick circular cookie. Press into the topping and flatten to approximately 1/3-inch thickness. They cook up to be about 2 inches across.
Cacao Chips – I squished 6 chips onto the top of one test cookie before baking. Too bad I only made one because it was excellent. My boyfriend has requested that I make more of these – good sign!
Honey Crystals – Love them! The honey crystals kept their primary shape with a slight poofing on the cookie during the cooking process. After it cooled it had a nice crunchy texture on top and I really liked the honey flavor. I think this one is my favorite!
 .
. 
And Finally…
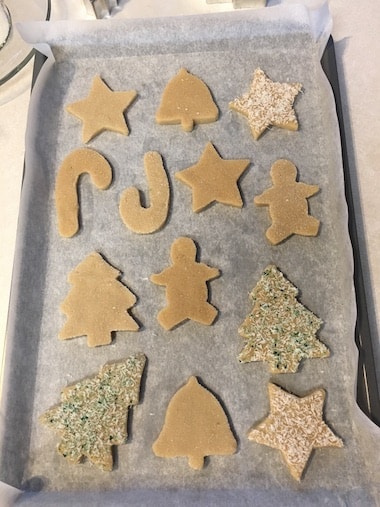
Cut out shapes, decorate, and put on cookie sheet lined with parchment paper. If you don’t have parchment paper that’s fine too.
Bake at 350 degrees Farenheit for 10-12 minutes
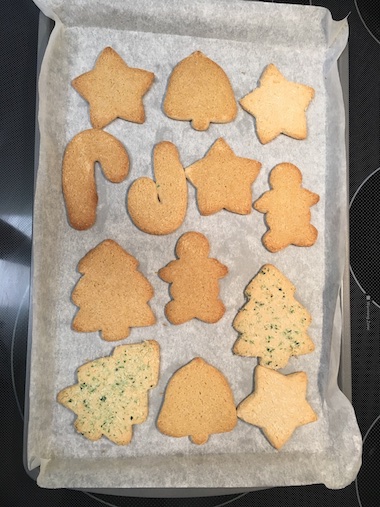
A Few Observations:
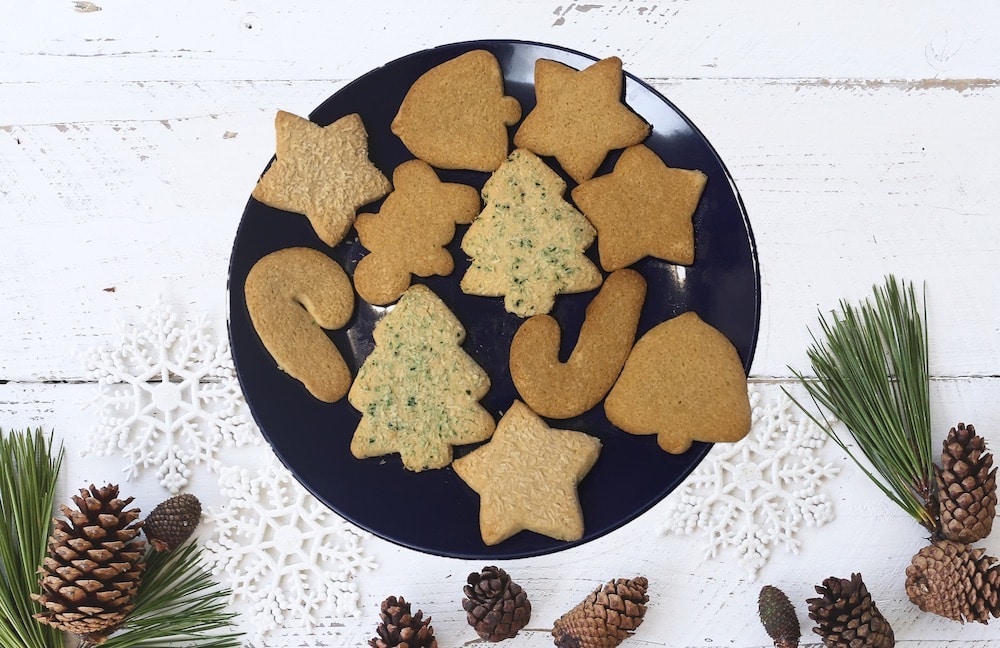
Regarding Color: Don’t be surprised that the cookies are a little browner than a normal sugar cookie. This is due to the brownness of the maple syrup as opposed to traditional white sugar which creates a whiter cookie.
If I had thought about it at the time, I would have separated out a bit of the dough and mixed in a drop or two of red food coloring to twist together with some of the plain dough and create colorful candy cane cookies. Green would have been great for the trees too – oh well, maybe next time J
Regarding Flavor: Although the recipe uses maple syrup as the sweetener the cookies don’t really have a maple taste, but they do have a slight coconutty flavor due to the Coconut oil and Coconut flour which I kinda like!
*One note… make sure your coconut oil isn’t terribly old. Mine had been in my cupboard for quite a while and it tasted kind of stale (so of course I used it anyway – lol). Luckily the stale flavor did cook off which was great, but next time I will definitely use a new jar.
Regarding Texture: The texture is a tiny bit grainier than a traditional sugar cookie due to the density of the Almond flour, but I found it a nice change of pace. Obviously, they were best eaten when warm, but they also cooled nicely too. I recommend keeping them in a storage tub lined with parchment and plastic wrap.
Final Conclusion On My Experiment: I’ve really enjoyed them and my boyfriend finished them – yay!
Future Added Ingredients to Ponder:
- Grated orange peel and a touch of Cinnamon
- Sliced Almonds and Almond extract for an almond cookie
- Cinnamon and Cream of Tartar for Snicker Doodles
There you have it. I was pretty happy with the results and can’t wait to play with this recipe more. If you try this recipe let me know how it worked out for you and also if you added any extra goodies to it.
Here’s To Your Good Health and To Your Happiness!
For this recipe and many more “Naughty but Nice” gluten-free dessert recipes, click here to get your Free Copy of the “Paleo Sweets Cookbook” shipped straight to your door.
You’ll also get an immediate downloadable copy so you can start cooking holiday treats today, plus several really cool bonuses! Click the pic and check it out.
Paleo Sweets – Treats without Guilt
Views: 62